A beautiful lawn and attractive landscaping can significantly improve your curb appeal. But it should go without saying that you can’t always count on Mother Nature to deliver the water that your lawn and plants need to thrive. That’s where a sprinkler system can come in handy.
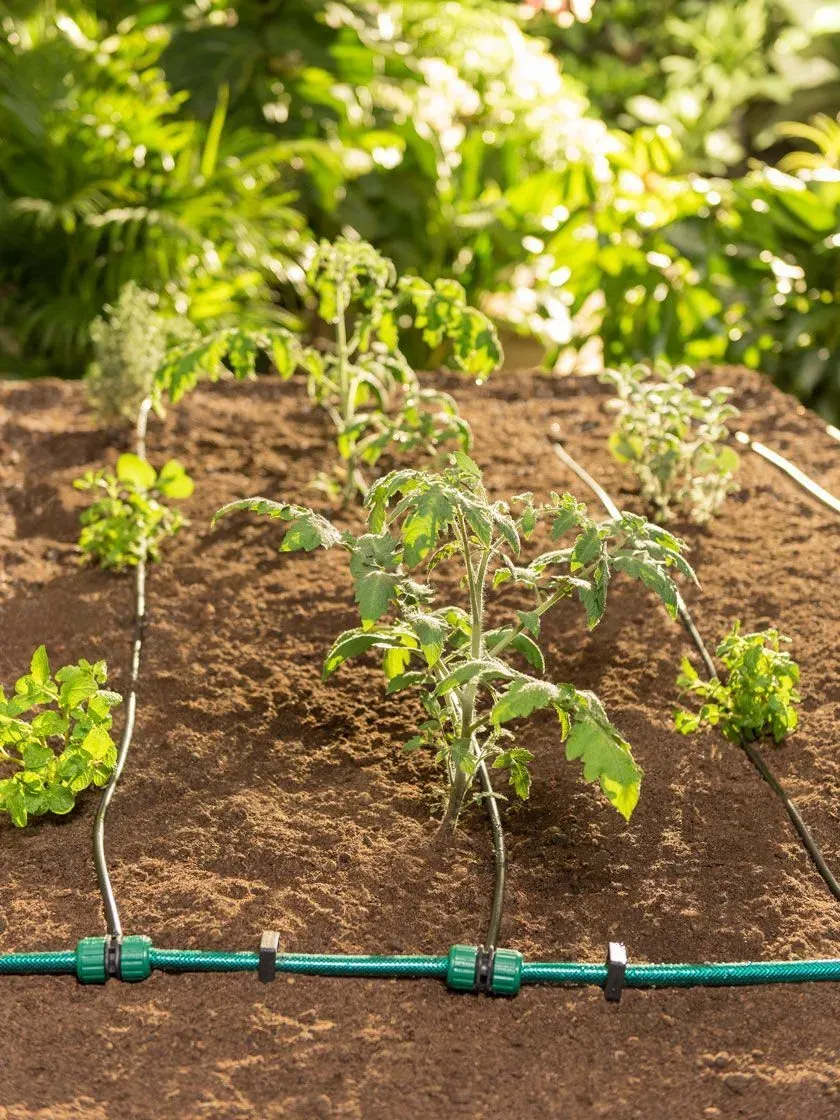
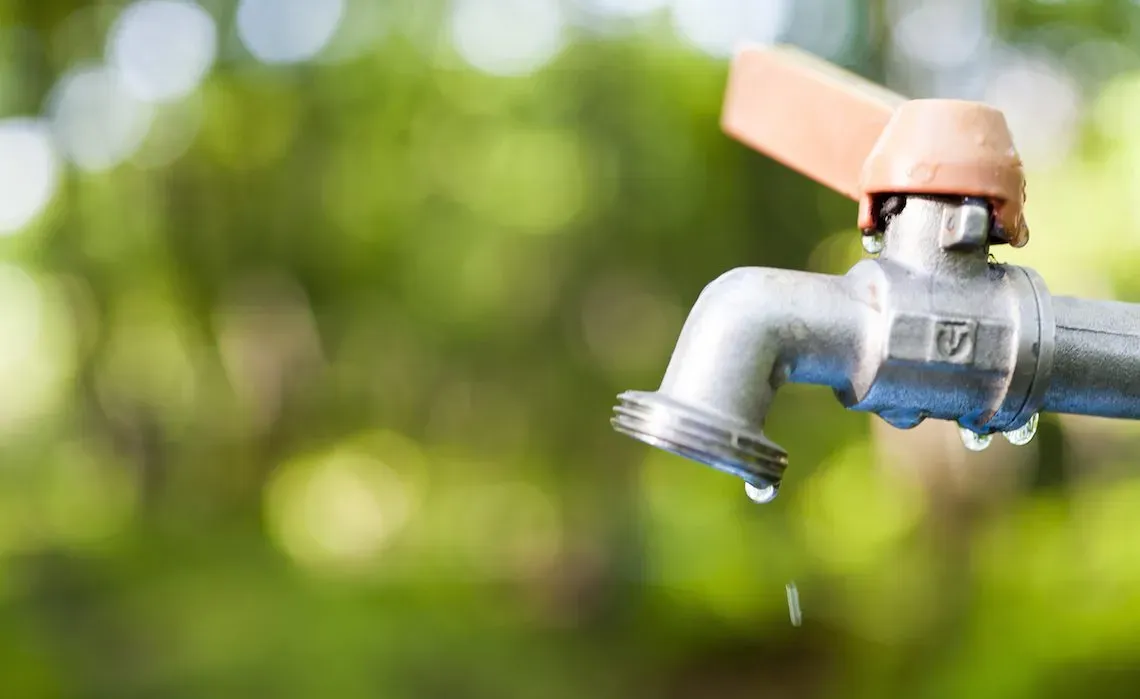
Sprinkler systems consist of flexible water pipes that run from your home’s main water supply to the various zones around your property. These water lines typically run underground and connect to sprinkler heads that then work to distribute the water to your yard. Sprinkler systems may sound simple, but they’re actually quite complex and require a lot of expertise to install. And while it can be difficult for the do-it-yourselfer to take on such a project, it is possible. In this post, we’ll examine how to do it and the prospective costs associated with it.
DIY Sprinkler Installation Overview
Let’s dive into the steps to installing your own sprinkler system and the costs associated with such:
Step 1: Determine the Type of Sprinkler System
The most popular sprinkler system for watering your lawn and landscaping is one that tends to have a mix of pop-up heads for lawns and spot irrigation heads in landscaping, garden, and flower beds. There are other types of irrigation systems, but this type of system is best for thorough, even water distribution to your lawn and landscaping.
Step 2: Size of Your Yard/Number of Zones
Next, you’ll need to know how much piping and sprinkler heads you’ll need to create your yard’s system. The larger your yard, the more piping, and heads you’ll need to keep your landscaping vibrant.
On a national average, it’s estimated to cost about $2,500 to DIY install a sprinkler system on a quarter-acre of land when you factor in materials. It’ll cost an estimated $5,000 to install a system on a half-acre of land. A system on a full acre is estimated to cost about $10,000. However, in Hawaii, keep in mind that material costs are roughly 1.5 to twice as much as they are on the mainland.
Some other key considerations when planning out your sprinkler system include the following:
- Budget for about an additional foot of pipe for every 20 feet that you measure to account for the margin of error.
- Make sure to avoid tree roots, pavement, underground plumbing, and other obstructions when planning the location of your piping.
- The average lawn sprinkler head can spray about 15 feet. As you plot the number of heads, always arrange for installation so they overlap.
- Sprinkler heads in zones near the back of your yard may suffer from reduced water pressure compared to zones closer to your home. For this reason, consider installing heads closer together in the farthest zones from your home.
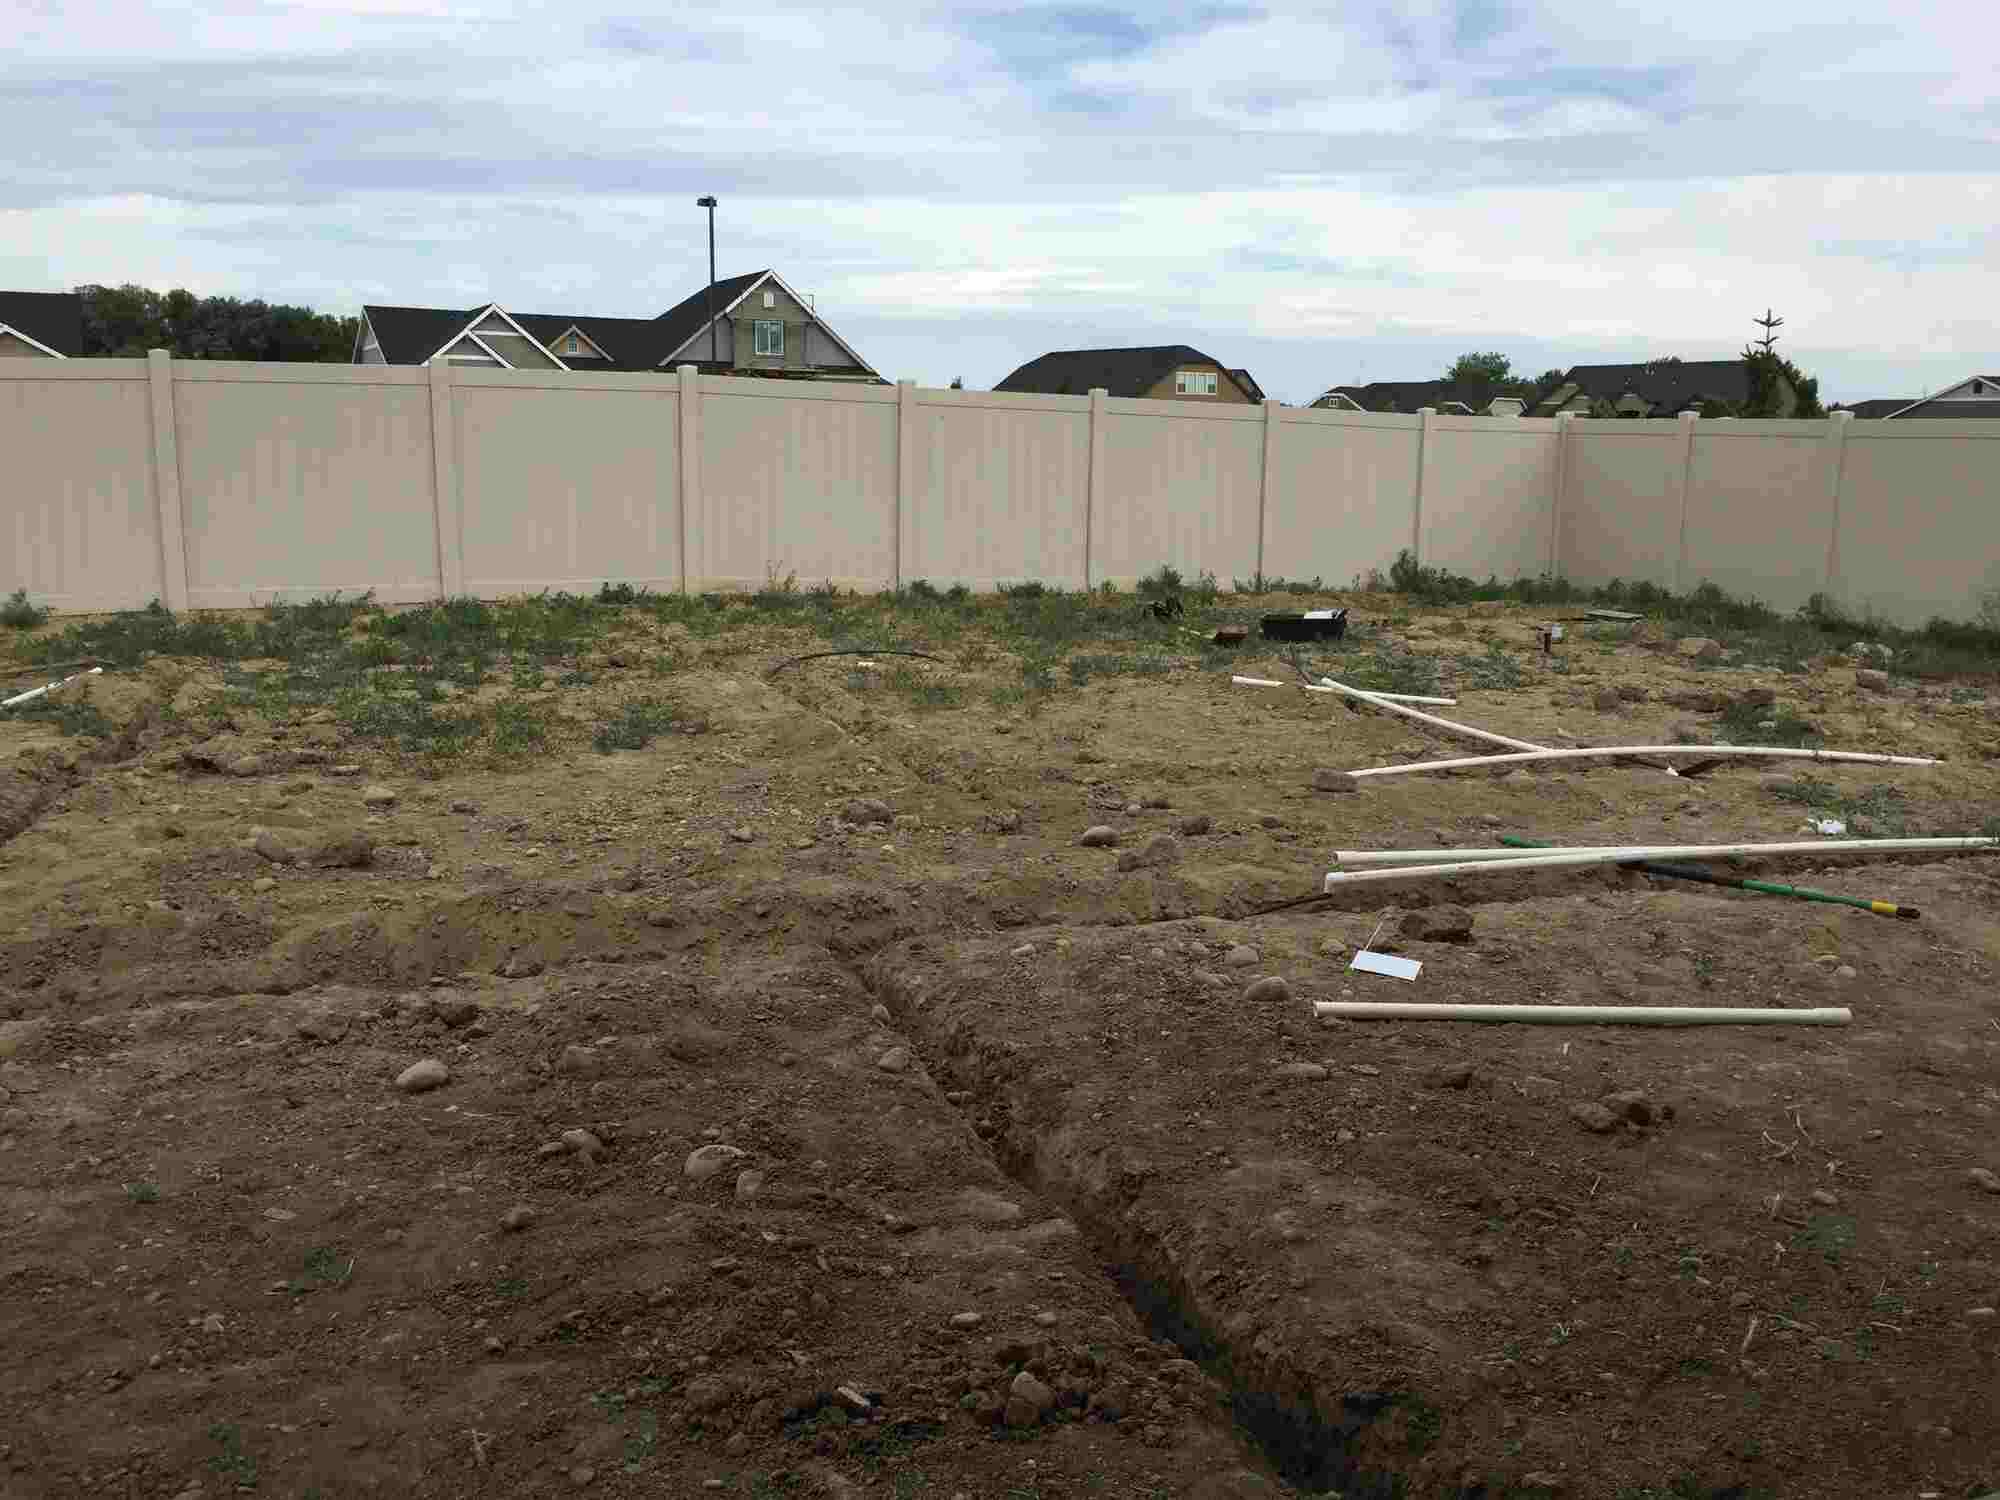
Step 3: Begin Work
Performing DIY sprinkler work consists of digging trenches for the pipes, connecting the pipes to the home water system and valve box, and, eventually, installing the sprinkler heads. DIY installation of a sprinkler system is a doable home improvement project if you’re willing to put in the work and can dedicate the appropriate amount of time to the project. For example, while a professional can typically install a system in a day, a DIY job may turn into a weekend project or even span several weeks. Although a DIY Sprinkler Installation can be time consuming, the cost savings can be significant over hiring a professional.
If you decide that you would prefer to let us help with the irrigation, give us a call!